Studio Apartment Storage and Layout Plan
Fit a whole home into one room: zone the studio, divide it with open shelves, store up instead of out, double the closet and give every zone its own warm lamp.
The problem
Many studio apartments are 300 to 500 square feet (28 to 46 m²), and that includes the kitchen, the bathroom and the closet. What’s left is often a single main room around 12 by 16 feet (3.7 x 4.9 m), and it has to hold a bed, somewhere to eat, somewhere to work and somewhere to sit. A queen bed at 60 by 80 inches (152 x 203 cm) covers about a sixth of that floor before you add space to walk around it.
When everything shares one floor, everything competes for the same walkways. A path about 30 inches (76 cm) wide from the door to the kitchen, bed and bathroom is roughly the minimum that feels comfortable, and every piece of furniture that drifts into it makes the room feel smaller. Without zones, the bed becomes the sofa, the desk and the laundry pile, and you see all of it from the front door.
Storage runs out fast too. A studio often has one reach-in closet about 24 inches (61 cm) deep, a kitchen with three or four cabinets and no hall closet at all. Renters usually can’t add built-ins, so storage has to be freestanding, removable or held up by a few small holes.
The plan
-
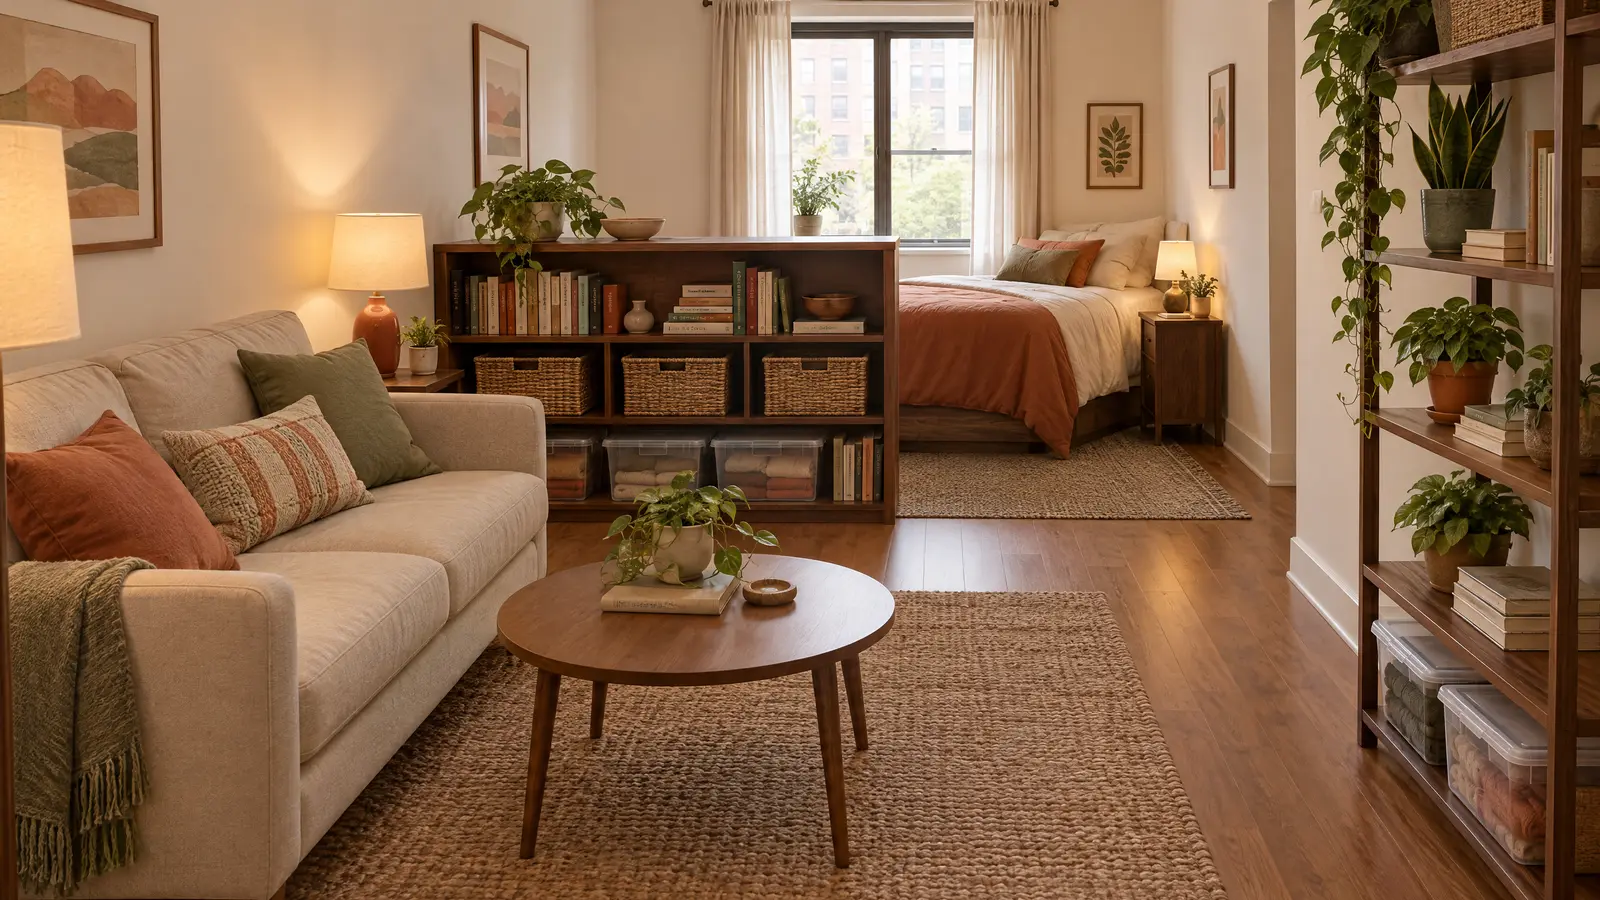
Draw the room and pick your zones. Measure the room and sketch it on graph paper, marking doors, windows, radiators and outlets. Give the bed, the eating spot, the work spot and the seating each a corner or a wall, and keep a 30-inch path joining the door, kitchen and bathroom. If you can, put the bed in the corner farthest from the door so it isn’t the first thing you see. Furniture on legs, with floor showing underneath, makes the room read bigger, and a round table about 30 to 36 inches (76 to 91 cm) across seats two with no corners to bump into.
-
Screen the bed with open shelving. An open-backed storage shelf organizer set at the end or side of the bed screens it from the living area while letting light through, and it stores books and baskets from both sides. Keep a freestanding divider low, ideally under about 4 feet (1.2 m), with the heaviest things on the bottom shelves. A tall shelf standing out in the room can’t be anchored to a wall and can tip, so anything tall belongs against a wall, anchored with the hardware the maker supplies.
-
Use corners and walls before floor. Corners are the most wasted space in a studio. A 5-tier corner shelf fits into a square corner and uses height instead of floor, which suits plants, books or a speaker. Anchor it as the maker directs and keep heavy things on the lower tiers.
-
Double the closet. A reach-in closet usually has one rod at about 66 inches (168 cm) with a shelf above, which wastes the space under short clothes. Double-hang rods are typically set around 80 and 40 inches (203 and 102 cm) from the floor; in a rental, a hanging extender that hooks over the existing rod adds a second row without drilling, as long as the top rod is high enough. Stack narrow closet shelves at one end for shoes and sweaters, and see our guide to organizing a small closet for the measuring.
-
Put small things in clear boxes. Small items scattered across one room are what make a studio look messy. Clear plastic organizer boxes keep chargers, tools, craft supplies and paperwork visible and stackable, and lidded ones slide under the bed. Measure the clearance under your frame first; it’s often 6 to 14 inches (15 to 36 cm), and bed risers rated for the bed’s weight can add a few more. Keep each box in the zone where you use it, so the paperwork box lives by the desk and the craft box by the sofa, and things get put back.
-
Make the fridge and drawers work harder. In a kitchen with three or four cabinets, the side of the fridge is free storage. Magnetic racks hold foil, spices and towels there with no drilling; test the side with a fridge magnet first, since some finishes aren’t magnetic, don’t block any vents and stay under the weight rating. Then cut the utensil drawer down to one set you actually use: a spatula, a slotted spoon, a solid spoon and a ladle cover most everyday cooking, and the space you free up can hold dish towels and storage bags instead.
-
Light each zone on its own. One ceiling light makes a studio feel like one big room; several low lamps make it feel like several small ones. Give the seating and the work spot each an LED table lamp with warm 2700K to 3000K light, and save the overhead light for cleaning. Around 450 to 800 lumens is plenty for reading or a laptop, and a shade that hides the bare bulb from where you sit keeps the light soft. A nightstand with a built-in light and charging can cover the sleep zone by itself.
-
Add reflection and personal things last, and keep them few. Mirror tiles on the wall across from a window bounce daylight deeper into the room; test the adhesive on a hidden spot first and skip textured or freshly painted walls. Keep decor to a handful of pieces, since everything you put out is visible from everywhere. A single digital frame can rotate a whole album where a dozen printed frames would fill a wall.
Before you shop
- Room length and width, plus door swings, windows, radiators and outlets.
- Clearance under the bed frame.
- Closet width, depth and current rod height.
- Width and height of the fridge side, and whether a magnet sticks to it.
- Ceiling height and wall type, for anything you’ll anchor.
- What your lease says about anchors, adhesive and furniture straps.
The guides for this room
- Storage Shelf Organizers Updating — Open shelving that doubles as a low room divider.
- 5-Tier Corner Shelves Updating — Uses corners that would otherwise sit empty.
- Plastic Organizer Boxes Updating — Clear boxes keep small things findable.
- Narrow Closet Shelves Updating — Gets twice the use from a narrow closet.
- Magnetic Racks Updating — Adds kitchen storage to the side of the fridge.
- LED Nightstands with Charging Stations Updating — Bedside storage, charging and a night light in one.
- LED Table Lamps Updating — Low-energy lamps to light each zone on its own.
- Mirror Tile Wall Stickers Updating — Mirror tiles bounce daylight deeper into one room.
- 10-Inch Digital Picture Frames Updating — A whole photo album in one small frame.
- Teak Wood Utensil Sets Updating — One good utensil set instead of a drawer of extras.